Installation Guide OenoFoss™ GO
Open box no. 1 without damaging the box

Place the instrument on a firm table

Align the front of the instrument with the front border of the table to ensure a vertical position of the waste tube. Put the waste tube into the hole of the waste container.
Remove the protective layer from the screen


Connect the network cable


Connect the power supply cable to the instrument and the wall plug

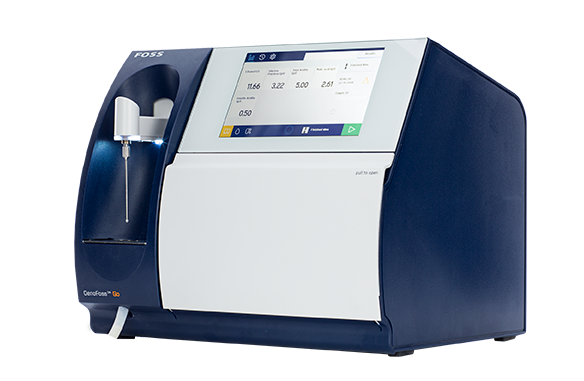
The screen lights up after approx. 20 seconds This screen will display during warmup. This is OK. Leave it for now.

The instrument will now warmup for 2 hours.

Please proceed with the installation only after the 2 hours have passed
Press Start to perform a Zero setting. The instrument will automatically also perform a Clean.
A succesfull Zero setting shows this screen.

Go into the Care view and select Self Test.

Press Start to initiate the Self Test.

Wait until all three tests have completed.

Go back to the Result view.

The instrument is ready for analysis when the pipette lamp gives a clear light and the Instrument State icon is OK

The installation is now completed.
To measure your first sample please proceed with the Quick Guide, sections: "Sample Preparation" and "Analysing a Sample"